Thursday, July 28, 2022

Miniature Feed Sacks Tutorial

The only things worth doing are the things we do for others. ~Alice

I absolutely love sharing my miniature creations with you!  Any time I have an idea and begin a miniature project I am thinking about sharing with you.  I know there are really fancy minis out there and artist that are much better at it than me!  But I'm simple and was taught at an extremely early age to use what I've got to create.  I am so happy that you take your time to visit and learn and I truly hope that you have tried and made some of my creations that I share.  Thank you for being here!!!  If you have made anything from my blog please take a picture and share it on Instagram with the hashtag #peppysis.  And if you want to be friends on Insta my handle is hulseyshideout.  Or click HERE


And now... on to my feed sack tutorial!  

This is another project that was so easy that I just wanted to keep going and make more and more of!

If you saw my Miniature Paper Rugs tutorial (found HERE), these are made in much the same fashion.  AND I have done some of the work for you already by creatin a printable for you XO!  I will say right now that I do not own the images on the printable.  I simply found pictures of feed sacks on Pinterest and Yahoo images and put them together.

Here they are!


Begin by copying and pasting the following picture onto your PC and printing it.  Or you can do your own search for whatever kind of feed sacks you need.  All of these are chicken feed sacks.


After you print out the sheet be sure and spray the images with a clear coat.  If you don't the glue will fade out the pictures and make the colors run.  Next, cut out each feed sack leaving about a quarter of an inch border around the image.


Just like making the rugs, wad and flatten your paper several times as shown in the next few pics.


When they are as soft as you like, fold the edges in and made a fold down the middle of the picture (between the front and back of the feed sack).  Leave the top unfolded for now.  Glue the sides and bottom together only on the folds.


And you have a sack that is open at the top.


Next, take your finger and fold in the top that will be glued together after you fill it.


 I use The filler sand below that I purchased at Hobby Lobby.  I use it to fill pillows and all sorts of things.  For the feed sacks you can use whatever you've got... sand, dry dirt.. whatever!


Use a small funnel to insert the sand into your feed sack and then glue the top folds together. 


TaaDaa!  A feed sack.


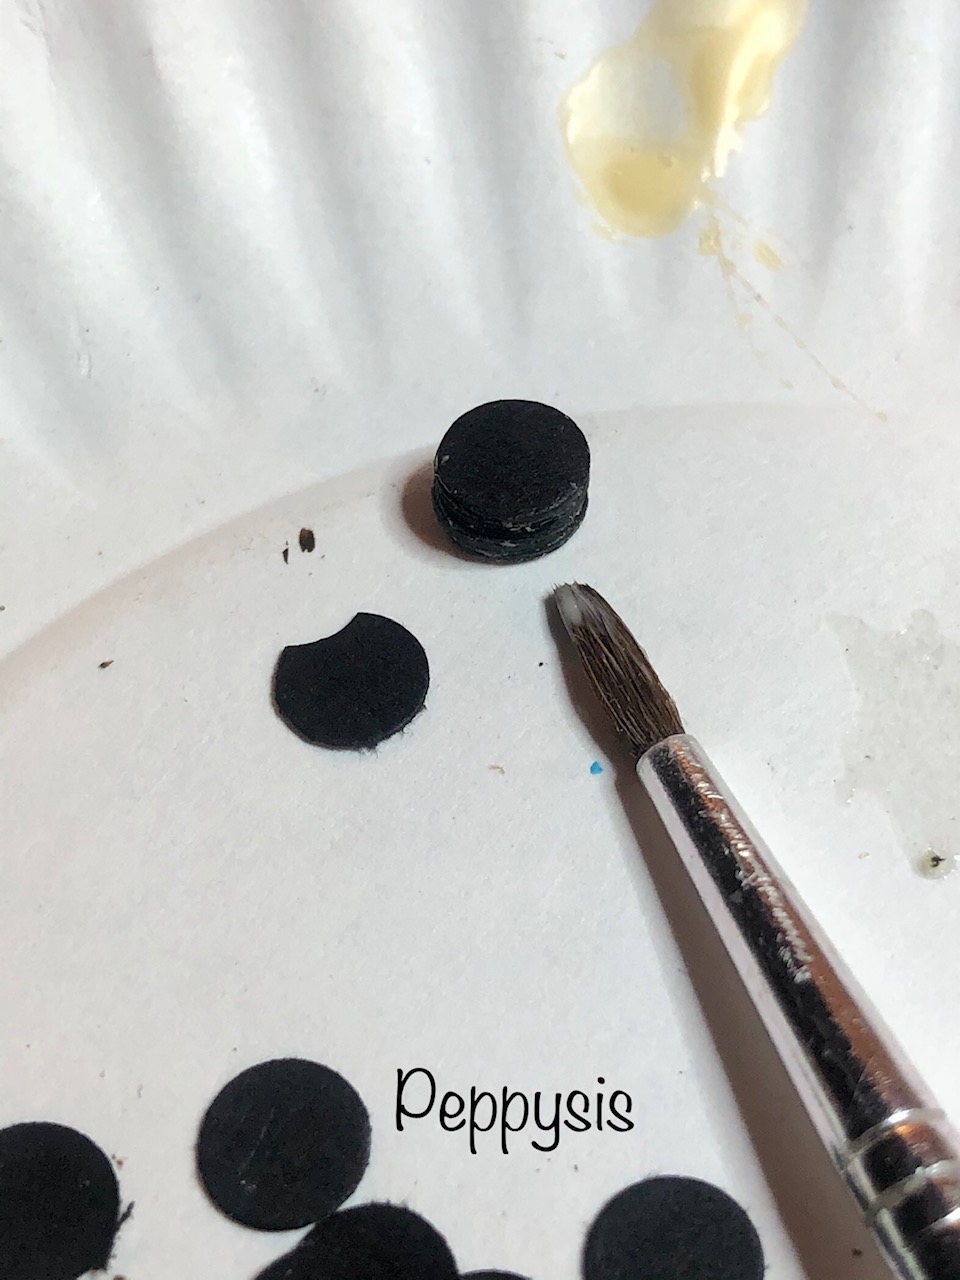
To finish them up you can dry brush a little brown paint on the edges and some over the outside for dimension.

You can also leave one open on the top and make a tiny scoop.  Just use glue with the filler sand so it doesn't spill out. 

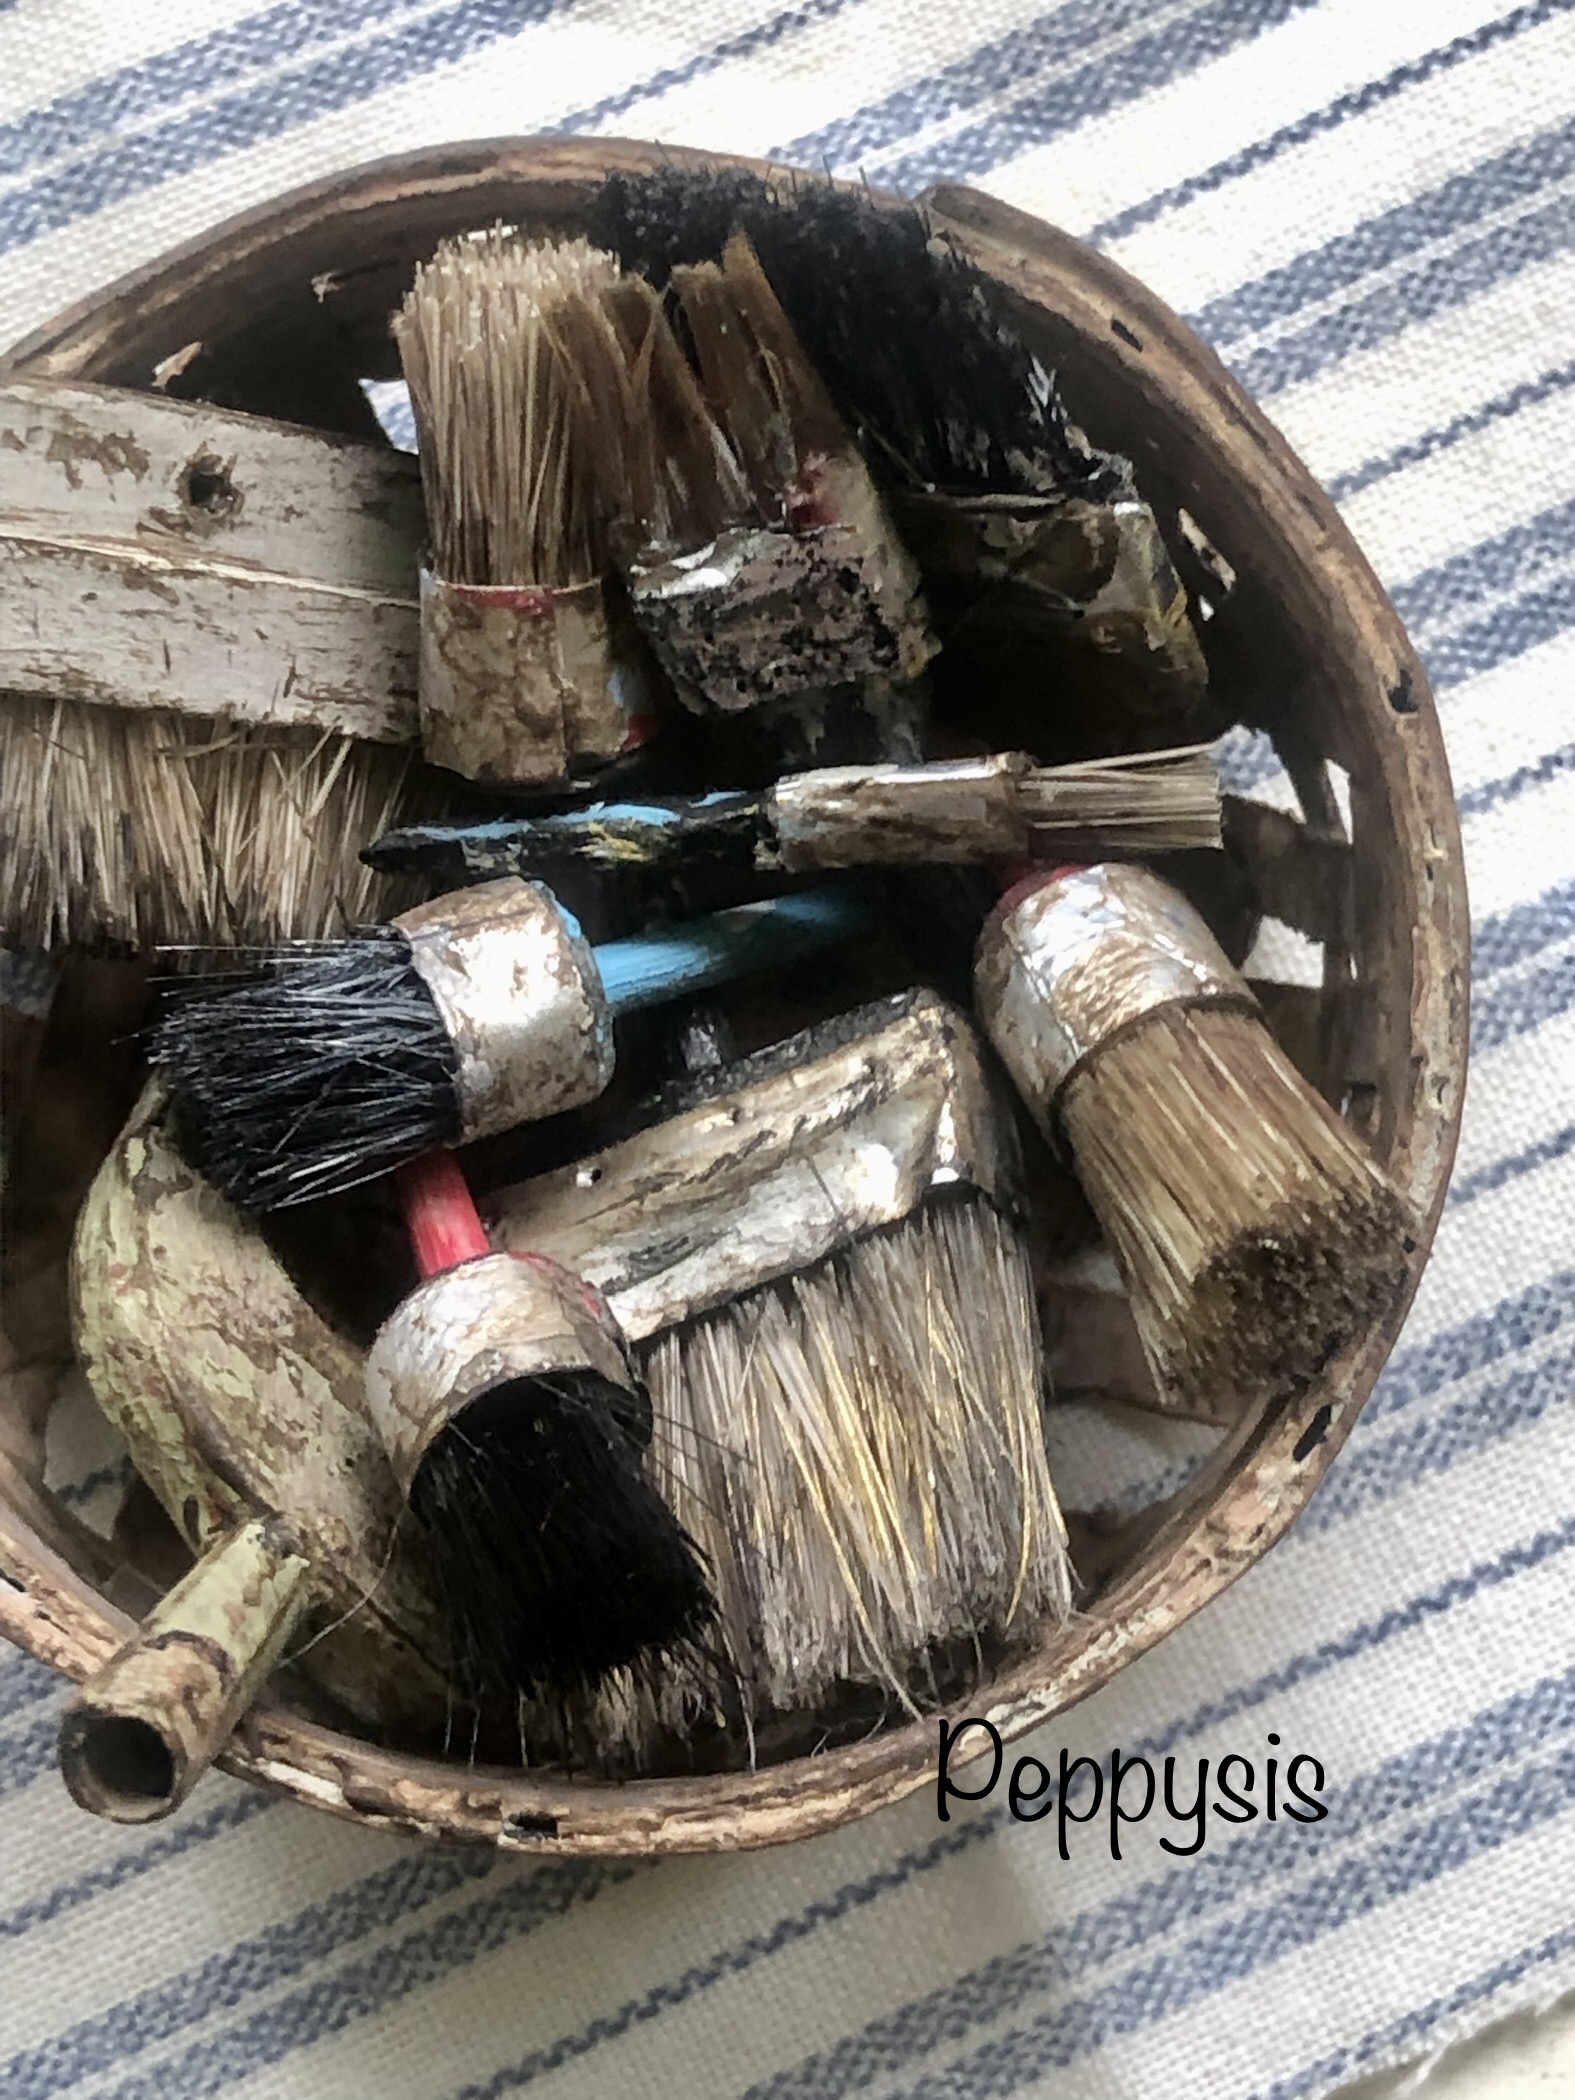
For the tiny scoop I used the same method as my vintage paint brushes but added a cut piece of paper straw and painted it.


So if you need a sweet feed sack you can make some today!  

Please share with me if you do.  I'd love to see them!!

XOXO

And here's me and a very sleepy Rue
Awww!


Thursday, July 21, 2022

Miniature Vintage Paint Brushes

 Do you like to make miniatures that are replicas of items that you collect in real life?  I sure do!  If I decorate my life size home with something I will make it in miniature form in a heartbeat!  I go to yard sales and estate sales and can't help but look for and buy old paint brushes.  They have so much charm.  I decided to make tome tiny ones and they turned out so cool!

Gather together some old or cheap paint brushes that you don't mind cutting the bristles from.  Cut out hole punches from cardstock.  This picture shows aluminum foil but it didn't work for me.  For the silver "metal" part of the paint brush I wound up using some silver plastic from a pill casing.  You could just cardstock and paint it. 


Take the hole punches and glue six or seven together with just a dab of wood glue between each one.


I used my ice pick and made an indention in the middle of the hole punch stack and glued in the end of a toothpick.  The purple on is the tip of one of the paint brushes I used.


Take your metallic piece and cut a strip about a quarter inch tall.  Glue it to your hole punch stack leaving a sort of well for the bristles to sit in.  I hope that makes sense.


Choose which bristles you want and, holding the bristles tight between two fingers, cut a wad for your brush.  Place glue in the well of your metallic piece and place the bristles inside.


It's ok if the bristles are longer and shaggy.  You're going to trim the to the length and shape you want after the glue dries.


Then paint up however you want!  

The other paint brushes here are made from stacked up cardstock.


So much fun to make!  Don't you love that??  When you make one of something and wind up making several because they are so easy and fun to make!

Hope you like them!  

XOXO


Thursday, July 14, 2022

Miniature Watering Can Tutorial

 Hello Folks!  I have to admit... these tiny watering cans make me drool!  

Black Cardstock has been my go-to and mini-making craft supply of choice for a while.  I used to use a lot of balsa wood but cardstock is every bit as sturdy when pieces are glued together with wood glue as any mini craft wood.  I just love it.

My mini watering can is made completely from cardstock.  Here's how I made it.  But first here's the can we are making in it's completed yumminess!


Ok so I measured nothing.  But the main part of the can is one inch tall.


Take the long, one-inch-tall piece and curve it around your fingers.  Place a little bit of glue throughout the paper as you go so it won't unravel.


Glue the edge flap down.


Once the oval can has dried, glue it to a piece of cardstock.   When it dries, trim the excess off.


Take a piece of cardstock and curve it for the front/top of the can.  Wood glue adheres at a fairly faster pace that regular craft glue.  Place glue on the top rim only about halfway around.  See the glue in this picture?  Just hold the piece on until it adheres to the top half of the can and trim off the excess.  


For the spout, take a piece of cardstock and roll it around a toothpick.  Glue the edge down.  Cut the ends at an angle, one to fit and be glued to the can and the other for the waterspout.


Curl to soften a strip of cardstock for the handle on top.


And curve a piece in two directions for the handle.


WaaLaa!  I feel that my instructions are very vague since I don't give proper measurements!  Sorry about that!  Cardstock is very forgiving as you can just trim and cut to your heart's desire!


And this is apparently how many colors of craft paint it takes to paint three mini watering cans LOL!!!  I mix different shades of gray and silver for the gray one.  And also use browns and oranges for the rust spots.


For a little bit of texture to your can to make it look old, basically glob your paint on the can, wait just a minute and dab it with a paper towel.  Dry brush brown in the creases to create depth and shadows.  And use dark oranges and browns together for rust spots.  And black also for age spots.


And now for a gallery of loveliness!


You can find my tutorial on the Vintage Metal Lawn Chair HERE!


I hope you are able to use this tutorial to make your own watering cans!  

Did you notice the old paint brushes??  I have a tutorial on how to make them next week!  
Please stop back by and check it out.  I think you'll love them!

XOXO


Saturday, July 9, 2022

Lilly's Room in a Fun-kin Part 4

 Howdy Do!!  This is the last post in the series of Lilly's Room.  I thought I would share some of the accessories in Lilly's room that I made.  So here goes!

I made a simple coatrack from balsa wood and old sewing hooks.


Of course, she had to have her own dollhouse!  This is why I hang on to scrap wood of all sizes!


I made this little desk from scraps and beads.  The legs are purchased spindles. 
I made her mushroom bookends from clay, paint and tinted sawdust.
Her fabric covered books were made especially for her room in shades of fabric to match her style.
You can find my book tutorial HERE.


This tiny rocking chair has been in my miniature collections for a long time.  It is hand carved.  I just painted it and added some roses.  It is the perfect size for her room.


And this is me reading to Lilly in her room.


This was a really fun project!  
How did you like this series?  
Would you like to see another Fun-Kin build?
I have a couple more that I have done.

Thanks for following along!